Family how-to: see the world through coloured goggles
Family how-to: see the world through coloured goggles
By RA Learning
Published 1 September 2017
Explore a whole world of colour through these DIY plastic goggles.
-
Learning how colours interact with each other is an important part of any young artist’s toolkit. In the third of our bumper summer holiday family how-to series, join us to experience colour on a sensory level through these easy-to-make coloured plastic goggles.
Extra inspiration!
Our exhibition Matisse in the Studio is all about Henri Matisse’s collection of objects and the artworks that they inspired. Take a look at his paintings and “cut-outs” to understand more about Matisse’s mastery of colour. This family how-to activity is all about experiencing colour, so make your goggles and then think about how the different colours change how you see the world.
You could also head down to the Design Museum to see Breathing Colour by Hella Jongerius to get some inspiration (until 24 September 2017). This exhibition looks at the way colour behaves, exploring shapes, materials, shadows and reflections. You could even wear your goggles there and see how they change how you see the different colours, shapes and lighting installations in the exhibition!
-
-

What you need
• Red, blue and yellow permanent markers (sharpies work really well, some don’t stick as well to plastic)
• 1 plastic water bottle (we made three pairs of goggles out of one bottle)
• Some rubber bands
• 1 pair of scissors
• Sticky tape (can be washi tape or regular tape, colourful tape works well to decorate the edges)
• 1 holepunch
-
1. Divide your plastic bottle into three sections
Measure your plastic bottle into three sections with straight edges (so you can cut the top and the bottom of the bottle away).
Mark the sections with a permanent marker, or with tape. You can remove the tape once you’ve done the cutting. Add arrows so you know which side of the tape to cut on.
Your sections should be at least 4cm thick.
-
2. Cut the sections, making sure the edges are smooth
Use scissors to carefully cut the plastic bottle into three evenly sized strips.
Use scissors to even out the edges so you don’t have any sharp bits that might scratch you when you put the goggles on. We’ll add tape to smooth over the edges later.
You might like to get an adult to help you with this part.
-


-
-
3. Cut a notch for your nose
Cut a notch for your nose halfway across the strip of plastic. It doesn’t need to be too big, especially for little noses.
-
4. Colour in the plastic strips
Take your blue marker and colour in the whole of the strip of plastic on one side.
Do the same for the other two strips, making one yellow and one red – each plastic strip will be a different primary colour.
-
5. Is the colour strong enough?
Make sure the colour is nice and strong, do more than one layer if that helps.
-


-
-
6. Make holes at each end
Punch a hole at each end of each of the plastic strips, to make an elastic strap for your head.
You can do this using a regular hole punch.
-
7. Make your elastic head strap
Take a few rubber bands and cut them in half so you can use them like string.
Tie one end of the first rubber band through the hole and then tie another band to the first.
This will make a strap for around your head, so you may need to use a few bands, depending if it’s for a little or big head!
-
8. Decorate your goggles
If you like, add tape around the edges of the plastic strips.
The tape will help make the goggles comfortable to wear.
Make straps for all three pairs of goggles: red, blue and yellow.
-


-
Share a photo of your goggles with @royalacademy on Twitter or @royalacademyarts on Instagram using #familyhowto
Photography by Simon Pask photography
-
Try on your goggles and have a look around you!
Try on your goggles and go outside!
...what does green grass look like through purple goggles?
...what happens when you try yellow ones?
...do things look darker or lighter through blue?


-
-
Families visiting the RA
From free drop-in workshops to our fun and engaging Art Detective trails, and galleries full of colourful paintings and sculptures to explore, families are welcome at the RA – and kids under 16 go free to all our exhibitions.
-

Read more
-
Artists
> 1 year ago
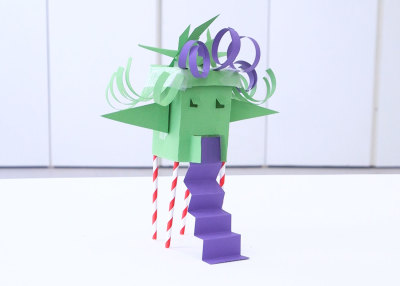
How to: make a character house
Instead of throwing cereal containers and milk cartons away, use them to make a miniature house with character.
-
Artists
< 2 years ago
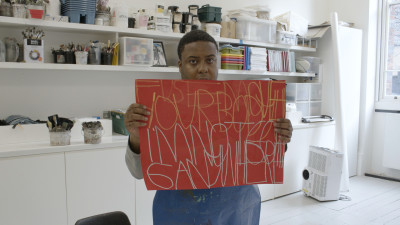
How to: paint with words like Patrick Moses
Try making a painting inspired by words like Summer Exhibition 2021 artist Patrick Moses.
-
Artists
> 2 years ago
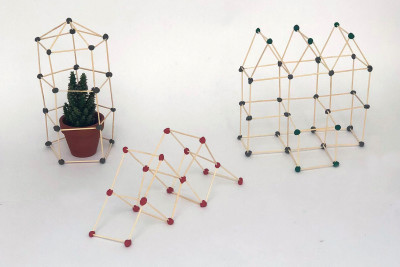
How to: design a greenhouse
Experiment with making miniature architectural models using just toothpicks and plasticine.
-
Artists
> 2 years ago
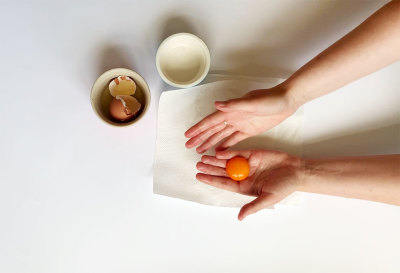
How to: make tempera paint
Have a go at making your own paint with eggs, make-up, spices and chalk.