Family how-to: use melted crayons to decorate a flag
Family how-to: use melted crayons to decorate a flag
By RA Learning
Published 25 October 2017
Melt and grate crayons in our take on Jasper Johns’s encaustic paintings, working with wax to design a flag that represents you.
-
Extra inspiration!
Jasper Johns began painting the American flag in the 1950s. By 2002, he had created around one hundred different versions of it in paintings, drawings, prints and sculptures. Johns made his first flag paintings using encaustic, a mix of liquid wax and paint that dries quickly, creating a very textured surface on the canvas. In his early flag paintings, you can see every single brushstroke. Look at Jasper Johns’s flags in our online gallery.
In this family how-to, you’ll learn how to make your own version of Jasper Johns’s encaustic, using melted and grated crayons.
Be careful when using an iron, and get an adult to help and supervise. Even after the iron is switched off it may be hot!
-
-

What you need
• Crayons with the labels soaked off – chunky ones are best for grating
• Sandpaper
• Pillowcase or other piece of fabric – you could use a tea towel or dishcloth instead
• Scissors
• Cheesegrater (this can be cleaned afterwards with hot water)
• Iron and ironing board, or a flat, safe surface that can be ironed on
• Greaseproof paper
-
1. Draw and colour on your sandpaper
Pressing down hard, draw straight onto the sandy side of the sandpaper.
You can colour in a whole area to make a block of solid colour, draw shapes or anything else that you can think of. Draw across the whole sheet, or just a small area.
Don’t forget that, as with a lot of printmaking, you will place the drawing face-down on your fabric, so the drawing will be a mirror image.
-
2. Cut out your drawings
Cut around the drawings you made. If you coloured in a large area of sandpaper, you can cut shapes to transfer onto the fabric.
-


-
-
3. Place the sandpaper colour-side down onto your fabric
Ask an adult for help with this step.
Warm up your iron. You can use a low to medium setting as crayon melts easily! Iron your fabric to remove any creases before you start.
Lay some greaseproof paper underneath your fabric. If you are using a pillowcase, put some inside it too.
Choose the spot for your first piece of sandpaper and place it crayon-side down on your fabric.
Lay some greaseproof paper on top of the sandpaper and fabric to protect your iron.
-
4. Iron over the sandpaper
Ask an adult for help with this step.
Iron over your piece of sandpaper. Crayons melt easily, so it won’t take too long – only a few seconds. You can peak under a corner of the sandpaper to make sure the crayon has melted.
-
5. Reveal your print
Let the sandpaper and the wax cool down for about 10 seconds before removing them to see the results!
-


-
-
6. Repeat the process with other shapes
Do the same with the other drawings and shapes you’ve made on the sandpaper. You can use the same sheet of sandpaper several times, after you’ve transferred the crayon to the fabric.
You may need to use some more sheets of greaseproof paper if the melted crayon seeps out.
Experiment with colours and different amounts of crayon colour on the sandpaper.
-
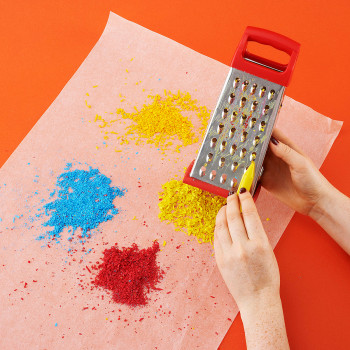
7. Try grating some crayons
Adding grated crayon instead of drawing on the sandpaper will create a different effect. You won’t need any sandpaper for this technique.
You can grate the colours onto a sheet of paper, so that you have a few to start with. You can use use the fine or coarse grater surface and see what effect you get from each. If you’re feeling confident, you could also skip this step and try grating straight onto the surface!
-
8. Sprinkle the grated crayons onto the fabric
Place greaseproof paper under your fabric, adding some inside as well if you’re using a pillowcase.
Sprinkle some grated crayon on top of your fabric, where you want the colour to be. The grated crayon will spread when it melts, so you won’t need much.
You can use one colour, or mix colours together. You can also overlap with some of the sandpaper drawings.
-


-
-
9. Iron the grated crayon
Ask an adult for some help with this step.
When you are ready to iron, place greaseproof paper on top of the grated crayon.
Iron over the greaseproof paper and grated crayon.
-
10. Reveal the results
When you’re done, wait a minute for the crayon to cool. Peel off the greaseproof to reveal the results.
-
11. Share your finished flag with us
Add more shapes and drawings, using both the grated crayon and the sandpaper methods!
Hang up your finished flag and send us a photo.
-


-
Share a photo of your flag @royalacademy on Twitter or @royalacademyarts on Instagram using #familyhowto.
Photography by Simon Pask photography.
Read more
-
Artists
> 1 year ago
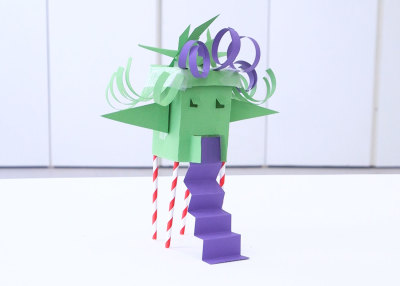
How to: make a character house
Instead of throwing cereal containers and milk cartons away, use them to make a miniature house with character.
-
Artists
< 2 years ago
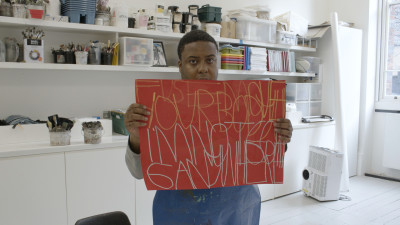
How to: paint with words like Patrick Moses
Try making a painting inspired by words like Summer Exhibition 2021 artist Patrick Moses.
-
Artists
> 2 years ago
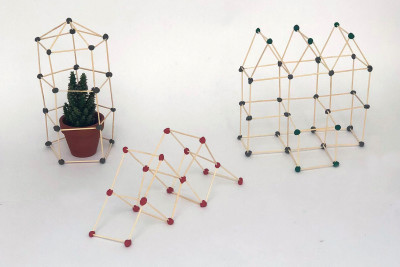
How to: design a greenhouse
Experiment with making miniature architectural models using just toothpicks and plasticine.
-
Artists
> 2 years ago
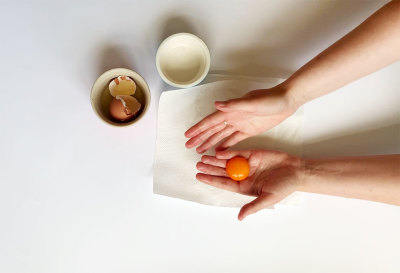
How to: make tempera paint
Have a go at making your own paint with eggs, make-up, spices and chalk.