Family how-to: make a colour wheel
Family how-to: make a colour wheel
By RA Learning
Published 29 August 2017
Learn to mix paint like a pro with this quick colour-wheel activity.
-
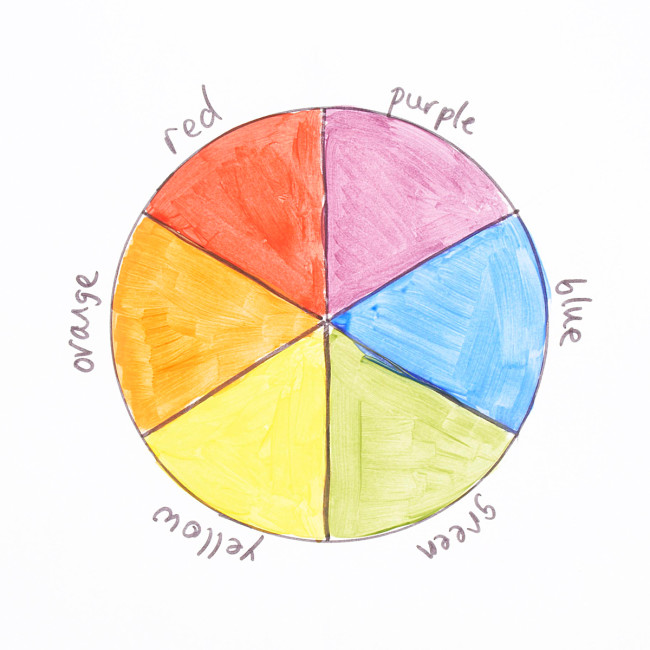
Artists make all the colours of the rainbow by mixing the primary colours together. In the second of our bumper summer holiday family how-to series, join us to have a go at making secondary colours and organising them into this colour wheel.
Extra inspiration!
Our exhibition Matisse in the Studio is all about Henri Matisse’s collection of vases, chairs and other objects and the artworks that they inspired. When he painted and created “cut-outs”, Matisse used vivid, bright colours. Take a look at his paintings and “cut-outs”. In order to be a master of colour like Matisse, you need to learn how to mix colours. Learn how primary colours mix together to make secondary colours with this fun family activity.
-
-

What you need
• Red, yellow and blue paint (acrylic or poster)
• A3 or A4 white paper (or a printed template (see step 1), or a paper plate)
• Paintbrushes
• Water for washing paintbrushes
• Paper towels for drying paintbrushes
• Muffin tray – use as a pallette for mixing paint
-
1. Make or download your template
To make your own template, trace around a bowl or plate, so that the circle fits inside your piece of paper, and then use a ruler to divide the circle into 6 even sections.
You might find it helpful to write in the colours next to where they should go.
The three primary colours should go in alternate sections, so that the secondary colours they make once mixed together sit between them.
-
2. Add the primary colours to your muffin tray and paint them onto your wheel
Starting with primary colours, add some each of red, yellow and blue to different sections of your tray.
You’ll need a fair amount, as you will use these colours to mix the secondary colours as well.
Then paint the primary colours in alternate sections of the colour wheel, leaving a gap in between them for the secondary colours.
-


-
-
3. Red + blue = purple
Using a clean brush, scoop up some red and add to an empty area on your tray. Using a clean brush, add a small amount of blue paint, then mix.
Blue is a dark colour so you won’t need too much of it. Keep mixing until you get a nice rich purple.
-
4. Red + yellow = orange
Put some yellow into a new empty section of your tray.
Using a clean brush, add a small amount of red paint and mix them together.
Yellow is a light colour so you won’t need much red. Keep mixing until you get a nice rich orange that you like; you can always add more red or yellow if you need to.
-
5. Blue + yellow = green
Next, green! With a clean brush, in the same way as before, start with lots of yellow and add a little blue at a time.
-


-
-
6. Paint in your purple section
Fill in the purple section in between red and blue.
-
7. Paint the orange section
Fill in the section in between red and yellow with the orange you have mixed.
-
8. Paint the green section
Paint the green section in the colour wheel in between blue and yellow.
-


-
-
Once you're done...
Which two primary colours made the brightest colour?
What would happen if you mixed two secondary colours together?
Can you think of any other ways to present primary and secondary colours?
If you want to go further…
Pick two colours on your colour wheel that are next to each other. Mix a bit from each and paint the new colour on top of where the two colours meet on the colour wheel. You’ll get a beautiful transition of colours if you continue all the way around the wheel.
-
-
-
Adapt your paintbrush
Need to make this Family how-to more accessible? Learn how to adapt your paintbrush to make it longer or easier to grip.
-

-
Share a photo of your colour wheel with @royalacademy on Twitter or @royalacademyarts on Instagram using #familyhowto
Photography by Simon Pask photography
-
-
Families visiting the RA
Whether it’s a free drop-in workshop or one of our fun and engaging Art Detective trails, the RA is brimming with colourful paintings and sculptures that are waiting to be explored. Everyone is welcome here – and kids under 16 go free to all our exhibitions.
-

Read more
-
Artists
> 1 year ago
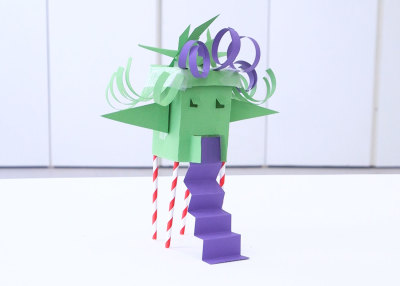
How to: make a character house
Instead of throwing cereal containers and milk cartons away, use them to make a miniature house with character.
-
Artists
< 2 years ago
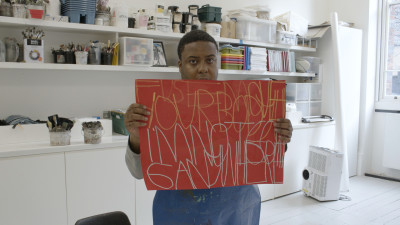
How to: paint with words like Patrick Moses
Try making a painting inspired by words like Summer Exhibition 2021 artist Patrick Moses.
-
Artists
> 2 years ago
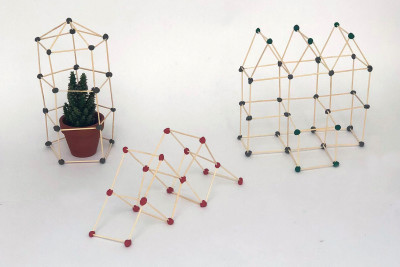
How to: design a greenhouse
Experiment with making miniature architectural models using just toothpicks and plasticine.
-
Artists
> 2 years ago
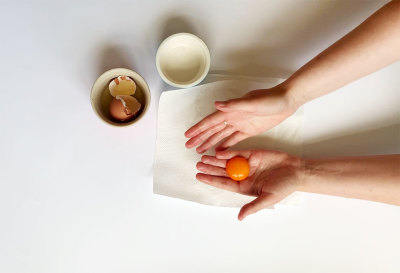
How to: make tempera paint
Have a go at making your own paint with eggs, make-up, spices and chalk.