Family how-to: paint a protest poster
Family how-to: paint a protest poster
By RA Learning
Published 20 February 2017
Joining a protest? Here’s how you can collage, stencil or paint a protest poster to hold high above your head!
-
This activity was published in February 2018 to coincide with our Revolution: Russian Art 1917-1932 exhibition.
-
Here's what to do:
-

What you need
• 1 A3 or A2 sheet of thick paper or card, for the background of your poster
• 2 or 3 A4 sheets of thick card, for making stencils
• 1 pair of scissors
• 1 glue stick
• Something to mix paint in, like an old tray
• Some paints (poster paint, acrylics, whatever you can get your hands on)
• A variety of collage materials - old newspapers, magazines or coloured paper
• Coloured markers, crayons or pencils (things to write with)
• 1 or 2 sponges (and a brush to mix paint with)
• Another sheet of paper that you can roll to make your poster into a placard and hold the poster up, or a stick
-
1. Choose a topic for your poster
Do a brainstorm with coloured pens to help you record your ideas. What do you care about? What do you want to change? Is there something that you think should change in:
Your school?
Your neighbourhood?
The world? -
2. Sketch your composition
Once you have decided on your topic, sketch out a plan. You don’t have to stick to it, but artists often make sketches before they create an artwork to help them plan. Think about what shapes and colours are going to make the poster look bold and bright, and what text you want to add to get your message across.
-


-
Extra inspiration!
Taking inspiration from art from Russia between 1917-1932, create a protest poster about an issue that you care about, something that worries you, something you want to celebrate or something you want to change. If you can, have a look at Kazimir Malevich’s abstract paintings, or any posters from the Revolution: Russian Art 1917-1932 exhibition to inspire you. You could research Constructivist posters, Kazimir Malevich’s Suprematist art and photomontage created during the Russian revolution for ideas.
-
-
3. Gather your collage materials
Have a look in old magazines or newspapers, and tear or carefully use scissors to cut out images, patterns or colours that you like. You could also search on the internet and print out images if you have a printer.
Set your collage materials aside for later.
-
4. Make your stencils
Referring back to your sketch, choose two or three geometric shapes (e.g. circles, triangles or squares) that you want to repeat in your poster. You will create stencils for these.
Think about whether the shapes need to be big or small. Making a shape into a stencil means it will be exactly the same each time you stencil it.
Draw your shapes in thick pen onto the card and then cut them out to create the stencils.
-
5. Prepare your paints
Before you start painting, protect your work surface with newspaper.
Choose a colour (or colours) that reflect your ideas for your poster. Do you want a calm colour like blue or pale purple? Or an angry colour like red or black?
Mix your colours and prepare your paint palette ready to sponge the paint onto the poster using your stencils.
-


-
-
6. Use a sponge and apply paint
Refer back to your sketch to help you decide where the stencils could go. When you have decided where you want your shape to appear, place the stencil over the background card and then apply paint with the sponge.
Be careful to keep the stencil still while you use it and to not put too much paint on the sponge.
-
7. Use your stencils to repeat shapes
Re-use your stencils to repeat shapes or create patterns.
Be aware that if the paint on your stencil is still wet, it might mix with your paints already on the poster that are also still wet.
-
8. Try reverse stencilling
You can also use the shapes you cut out of your stencils to paint around, creating outlines. This is called reverse stencilling.
-


-
-
9. Experiment with your stencils
Layer your stencils and have fun with the different shapes, to get a bold, bright effect!
-
10. Add your collage
Now get your collage materials. Add geometric shapes, images of people or animals that will add to the message you are portraying.
Think about which images you could use to make your message clearer. Try to keep the composition simple, bold and bright!
-
11. Add words
Use collage, thick felt tip pen, or paint to add words to your collage. Make sure your message is clear and the words are big enough to see from a distance.
-


-
-
12. Add any finishing touches
You could add another stencil, more text or more pieces of collage to finish up your design.
-
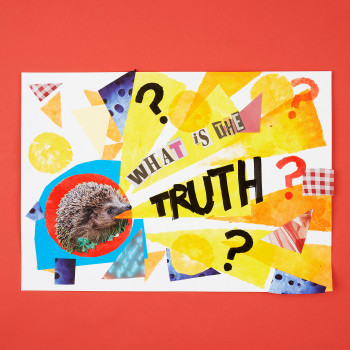
13. You're done! Hang your poster
Hang it up, send us a picture of it or show your family or friends.
-
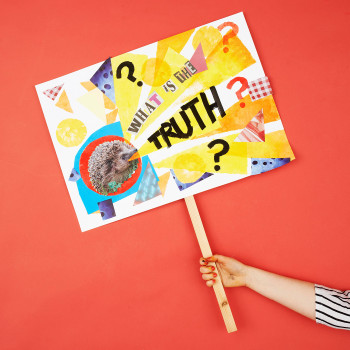
14. Or make it into a placard
Attach a stick or wooden spoon to the back to make a handle …and hold it high!
-

-
Show us your poster! Share a photo of your finished poster with @royalacademy on Twitter or @royalacademyarts on Instagram.
-
Photography by Simon Pask Photography
With thanks to Indiana Evans, age 10, via Twitter for the inspiration for this Family how-to!
Revolution: Russian Art 1917–1932, Main Galleries, Royal Academy of Arts, 11 February – 17 April 2017.
-
-
Families visiting the RA
From free drop-in workshops to our fun and engaging Art Detective trails, and galleries full of colourful paintings and sculptures to explore, families are welcome at the RA – and kids under 16 go free to all our exhibitions.
-

Read more
-
Artists
> 1 year ago
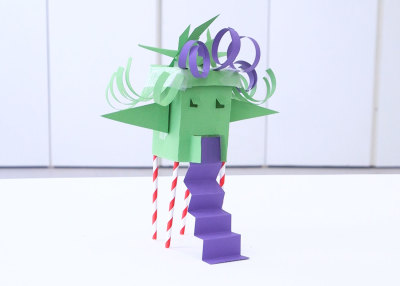
How to: make a character house
Instead of throwing cereal containers and milk cartons away, use them to make a miniature house with character.
-
Artists
< 2 years ago
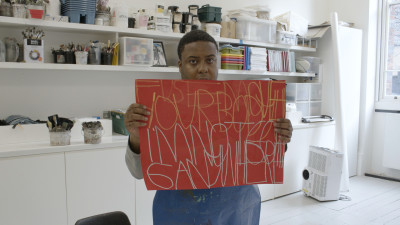
How to: paint with words like Patrick Moses
Try making a painting inspired by words like Summer Exhibition 2021 artist Patrick Moses.
-
Artists
> 2 years ago
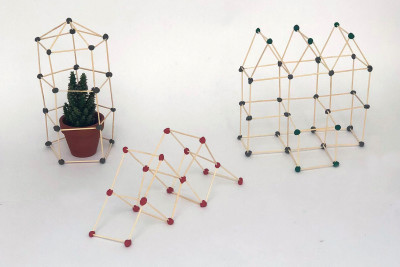
How to: design a greenhouse
Experiment with making miniature architectural models using just toothpicks and plasticine.
-
Artists
> 2 years ago
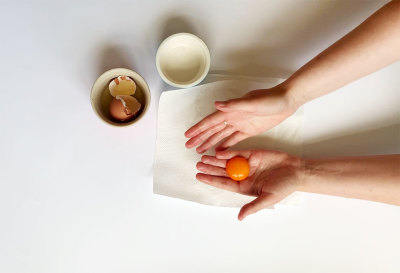
How to: make tempera paint
Have a go at making your own paint with eggs, make-up, spices and chalk.