Family how-to: print with fruit and vegetables
Family how-to: print with fruit and vegetables
By RA Learning
Published 14 December 2017
Print a posy of springtime roses, a potato polar bear or some birthday wrapping paper.
-
-

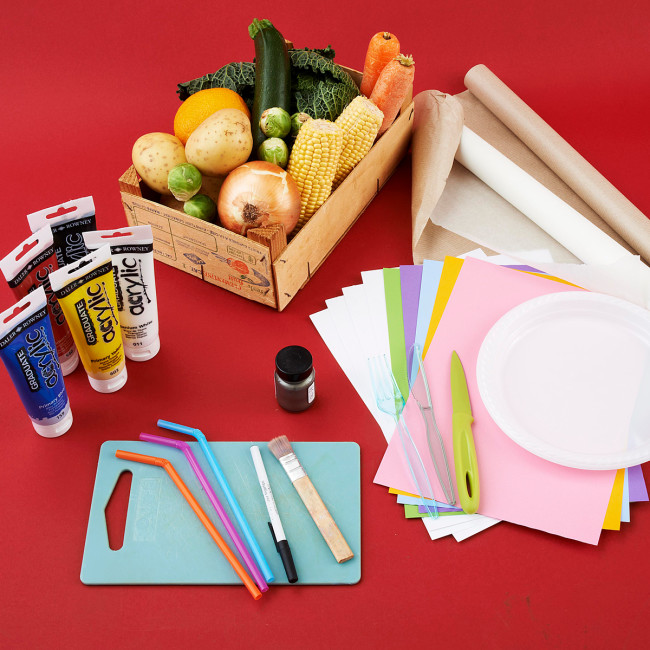
What you need
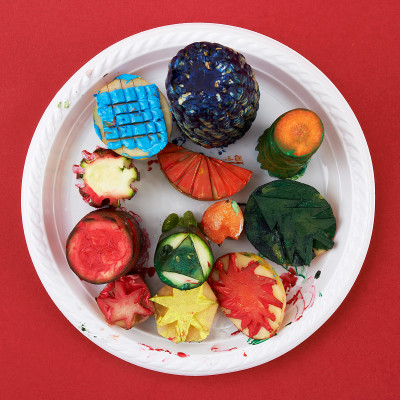
Fruit and vegetables – we used carrots, courgettes, potatoes, cabbages, brussel sprouts, sweetcorn, apples, oranges, celery hearts and onions, but you could try anything!
Paper to print on to – A4 white or coloured card to make a print, blank cards and envelopes, and brown wrapping paper
Paint – any type will work (we used acrylics) and any colours you want – use silver or gold paint to add some sparkle
Paint brushes to mix and paint
Mixing tray to hold and mix paint on, we used disposable plates
Carving or etching implements – a knife (for adults or supervised use only), a teaspoon, the plastic casing of a ballpoint pen, a sturdy straw and a cutting board
-
-
Start by trying out some different patterns...
-
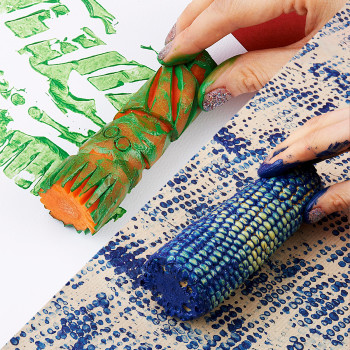
Roll!
Take a cob of sweetcorn and roll it in a paper plate of paint.
Roll the corn cob back and forth on some brown wrapping paper to make a pattern!
You could also try carving into a carrot and rolling it in paint, then rolling it on some paper. Carrots are quite hard to carve into, so get an adult to help you.
-
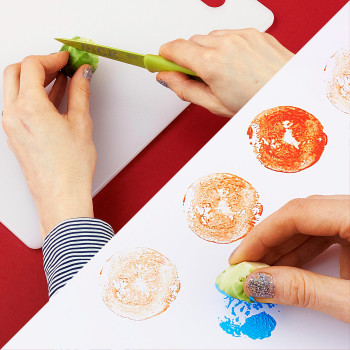
Stamp!
Take a brussel sprout and get an adult to cut it in half.
Dip the flat side in paint and stamp it onto some paper.
What does the brussel sprout print look like to you?
Pick something else to print with. You could try a courgette, an onion or an apple. We’ve made a guide showing the prints that different fruits and vegetables will give you lower on this page.
Alternate the veggies you are using to make an abstract patterned print.
-
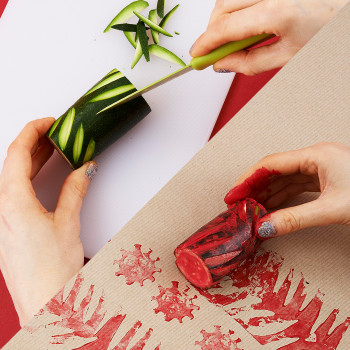
Carve!
Take a courgette and ask an adult to cut both the ends off.
Use a teaspoon or a plastic knife to carve into the courgette, or get an adult to do it for you with a sharper knife.
You could also try carving with a straw, or the plastic casing of a pen.
-

-
Now try these activities…
-
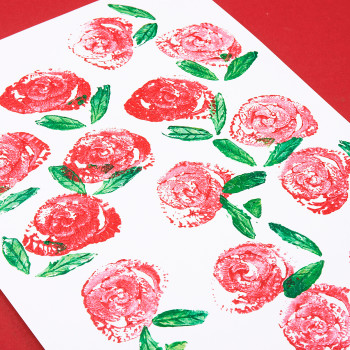
Print a page of celery roses
-
1. Grab a whole celery, cut at the base and dip in paint
Cut a whole celery near the base – you can save the stalks as a snack for later. Dip the flat end in paint and then press firmly onto the page. Lift to reveal your rose shape.
-
2. Cover your page in roses
Press down repeatedly on a page with your celery base. You won’t need to dip it in paint again at first, but you may find after a few prints you need some more paint.
-
3. Your finished print
You can add leaves to your roses in a contrasting colour by carving the shape using another vegetable, such as a potato. Admire your finished print! What other vegetables could you use to make flowers?
-


-
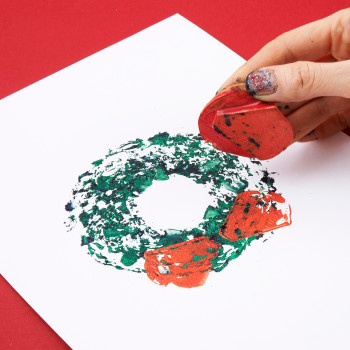
Print a cabbage wreath
-
1. Prepare the cabbage
Take your cabbage and cut it in half with a knife (get an adult to do the cutting or supervise you).
Then, cut a shallow circle in the centre of one half of the cabbage and scoop out the centre. You might need to wrap the leafy part with some tape or an elastic band to keep it together.
-
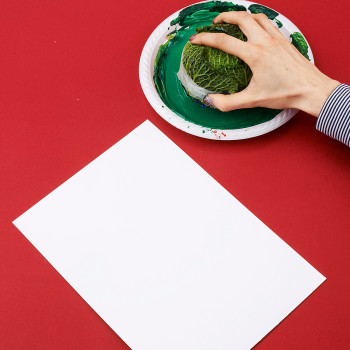
2. Dip the cabbage in some paint
Prepare your green paint to make the leafy part of your wreath.
Dip the flat side of the cabbage into the paint.
-
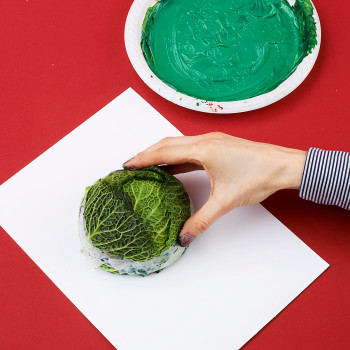
3. Press the cabbage onto your paper
Press the cabbage onto the paper, paint side down.
-

-
-
4. Lift it up to reveal the print!
Lift up the cabbage and see the shape you’ve made.
-
5. Cut some potato pieces to make a bow
Cut a potato in half and on the flat side of the potato, use a knife to cut a triangle, like one half of a bow.
Dip the potato into some red paint and print the bow shape on top of the wreath.
Print again so you have both sides of a bow.
-
6. Finish the bow
Cut another small piece of potato into a rectangle shape and finish the bow.
-

-
Print a potato polar bear
-
1. Cut a large potato in half
This is a slightly trickier print.
Choose a large-ish potato, cut it in half and grab a pen.
-
2. Draw your polar bear design
Sketch your polar bear outline onto the flat side of the potato. Don’t forget that, as with a lot of printmaking, you will place the drawing face-down so it will print as a mirror image.
-
3. Carve out the polar bear
You might need an adult to help you with this step.
Cut away the parts of the drawing which you don’t want to show up on the print – the fur of the polar bear for example, because you will be printing on white card, doesn’t need to be painted or printed. This is called relief printing.
The raised areas that are left should be the polar bear’s nose, eyes and the sky around him.
-


-
-
4. Paint on the potato
Use a small paintbrush to paint the parts of the potato that are left. Only paint onto the parts you want to show on your finished print. You can use lots different colours when you use a brush to apply the paint to your potato.
-
6. Make your print
Press the potato, paint-side down, onto a blank folded card or a piece of paper.
You will be able to print a few times, so you could make several cards without adding any extra paint.
-
7. Add more decoration
You could cut a round of carrot, then cut into it at the edges to make a star print.
Print the star around the polar bear.
-


-
What we made
Printed wrapping paper
Colourful Christmas cards
Frame one of your prints and give it as a gift
Keep your painted veggies as a (temporary) installation!


-
Show us your prints! Share a photo of your finished prints with @royalacademy on Twitter or @royalacademyarts on Instagram using #familyhowto
Photography by Simon Pask Photography
-
-
Families visiting the RA
From free drop-in workshops to our fun and engaging Art Detective trails, and galleries full of colourful paintings and sculptures to explore, families are welcome at the RA – and kids under 16 go free to all our exhibitions.
-

Read more
-
Artists
> 1 year ago
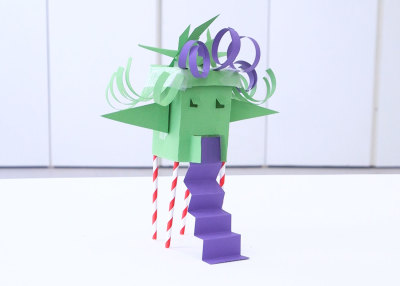
How to: make a character house
Instead of throwing cereal containers and milk cartons away, use them to make a miniature house with character.
-
Artists
< 2 years ago
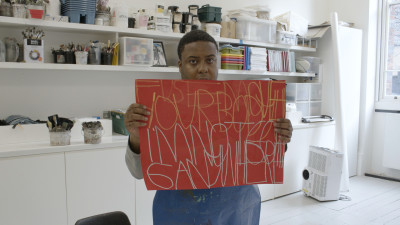
How to: paint with words like Patrick Moses
Try making a painting inspired by words like Summer Exhibition 2021 artist Patrick Moses.
-
Artists
> 2 years ago
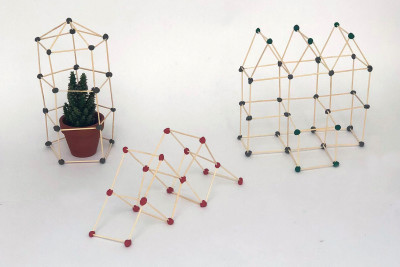
How to: design a greenhouse
Experiment with making miniature architectural models using just toothpicks and plasticine.
-
Artists
> 2 years ago
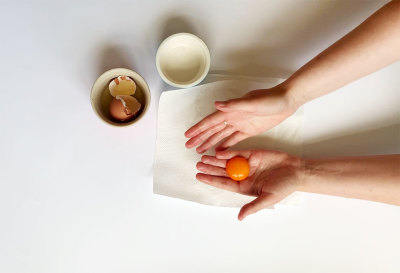
How to: make tempera paint
Have a go at making your own paint with eggs, make-up, spices and chalk.