Family how-to: exploring colour with slime
By RA Learning
Published 18 August 2017
Play, experiment and explore how colours mix together by making this sensory slime!
-
Learning how colours interact with each other is an important part of any young artist’s toolkit. In the first of our bumper summer holiday family how-to series, join us to learn how primary colours mix together to make secondary colours by making slime!
Check out our FAQs below for more information about this family how-to. The activity is also suitable for sensory beings.
-
-

What you need
• PVA glue
• Bicarbonate soda
• Contact lens solution, “buffered” (key ingredient: boric acid, can use eye wash instead)
• Food colouring (red, blue and yellow)
• Glitter (optional)
• Baby oil (optional)
• 3 mixing bowls
• Spoons
• Measuring cups and spoons
• Muffin tray (for storing your slime blobs)
-
1. Make your base
Make sure you are working on a wipe-clean surface, and wearing messy clothes or an old apron!
Measure out 250 ml (1 cup) PVA glue into a bowl.
Add 1 tsp bicarb and mix together.
Divide the base mix into 3 equal parts. Each one will be used for a different primary colour: yellow, blue and red.
-
2. Add food colouring
Choose one of the primary colours and add a few drops of food colouring to the mixture, making sure the colour is nice and vibrant.
Next, do the same for the other two mixtures.
-


-
-
3. Add glitter!
Add some glitter to each of the three colours, matching the glitter to the colour of the slime.
This will help later when you want to remember which colours you added together to get the secondary colour you end up with!
-
4. Add baby oil
Add a little baby oil – it helps to keep the slime stretchy and stops it from sticking to your hands (optional).
-
5. Add contact lens solution
Add contact lens solution by squirting in and mixing together.
You’ll probably need a few tablespoons for each colour mixture.
The mixture will come together and start to stick to itself instead of the bowl as you stir.
Add a bit more solution until it makes a big lump in the bowl.
-


-
-
6. Stir the mixture
Add bit by bit, stirring in the meantime, to make sure it doesn’t make your mixture too solid.
Depending what brand you use, you may need a little more or less contact solution.
-
7. Test the consistency in your hands
Add a few more drops of baby oil, take the slime out of the bowl and keep kneading it and playing with it.
If it sticks to your hands, add a little more contact lens solution and knead into slime. It should stick together like very squidgy dough, and not stick to your hands.
If you don’t want to directly touch the slime, try putting it into a clear plastic bag and handling it through the bag.
-
8. Break your slime up into pieces
Break up each of your primary coloured slimes – blue, yellow and red – into three parts and use the muffin tray to keep them separate.
-


-
-
9. Mix your slime!
Try mixing red and yellow, red and blue, or blue and yellow.
-
10. How did you make the secondary colour?
Which two colours made the new colour you have?
Pull the slime apart in your hands and have a close look at the glitter to remind yourself!
-
11. Play with your slime!
Once you have had a go at making all the different secondary colours, play with your slime!
-


-
Four more things to try with your slime
You can create drawings with one colour
Or with many colours!
Try making some rainbow slime
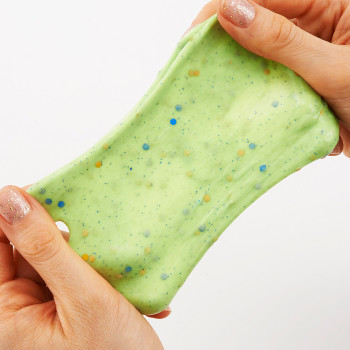
Stretch your slime as far as it will go!


-
FAQs
What’s the science behind slime?
PVA glue can be made into a slime by adding contact lens solution or eye wash that contains a small quantity of sodium borate (a form of boric acid). The borate ions create crosslinks between polymer chains, making a stretchy, malleable slime!
Is it safe?
It’s a good idea for anyone with sensitive skin to test whether they have a reaction to the slime. PVA is non toxic and washable and contact lens solution is safe to handle, but you may want to wear gloves or goggles. It comes off the skin very easily once it is created and properly bound together. But, if slime comes into contact with fabrics, it may stick and be difficult to get off.
How long does slime last?
You can keep your slime for as long as you like, it doesn’t wear out. As it is a non-biodegradable substance, you may wish to think carefully about how much you make and whether you will re-use it. You may also find the colours change soon after you make it, so do the colour mixing with fresh slime!
-
Share a photo of your adventures with slime with @royalacademy on Twitter or @royalacademyarts on Instagram using #familyhowto
Photography by Simon Pask photography
Read more
-
Artists
> 1 year ago
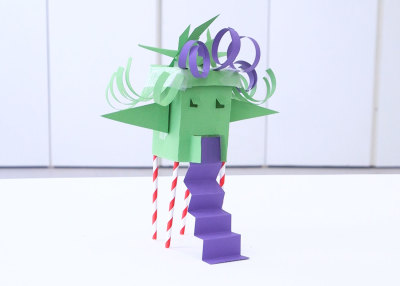
How to: make a character house
Instead of throwing cereal containers and milk cartons away, use them to make a miniature house with character.
-
Artists
< 2 years ago
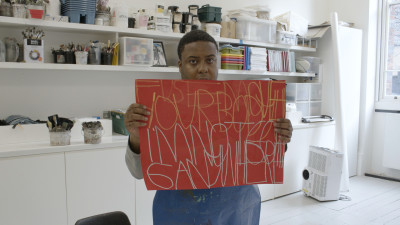
How to: paint with words like Patrick Moses
Try making a painting inspired by words like Summer Exhibition 2021 artist Patrick Moses.
-
Artists
> 2 years ago
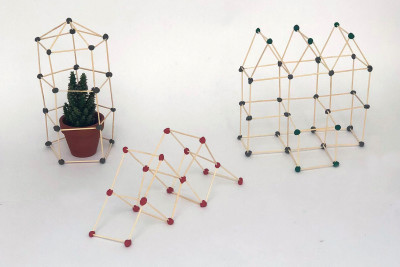
How to: design a greenhouse
Experiment with making miniature architectural models using just toothpicks and plasticine.
-
Artists
> 2 years ago
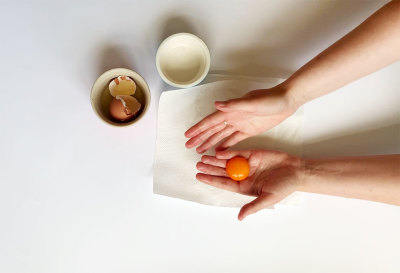
How to: make tempera paint
Have a go at making your own paint with eggs, make-up, spices and chalk.